
The chatbot in NeetoChat is like an imaginary support agent called NeetoBot. It is designed to assist your customers directly from the NeetoChat widget. While NeetoBot can’t do everything a human support agent can, it is programmed to handle specific situations and provide quick, automated responses to common queries. This helps reduce response time and ensures customers get immediate assistance whenever possible.
There are two significant steps to fully set up the chatbot.
Programming chatbot
Enabling chatbot
1. Programming chatbot
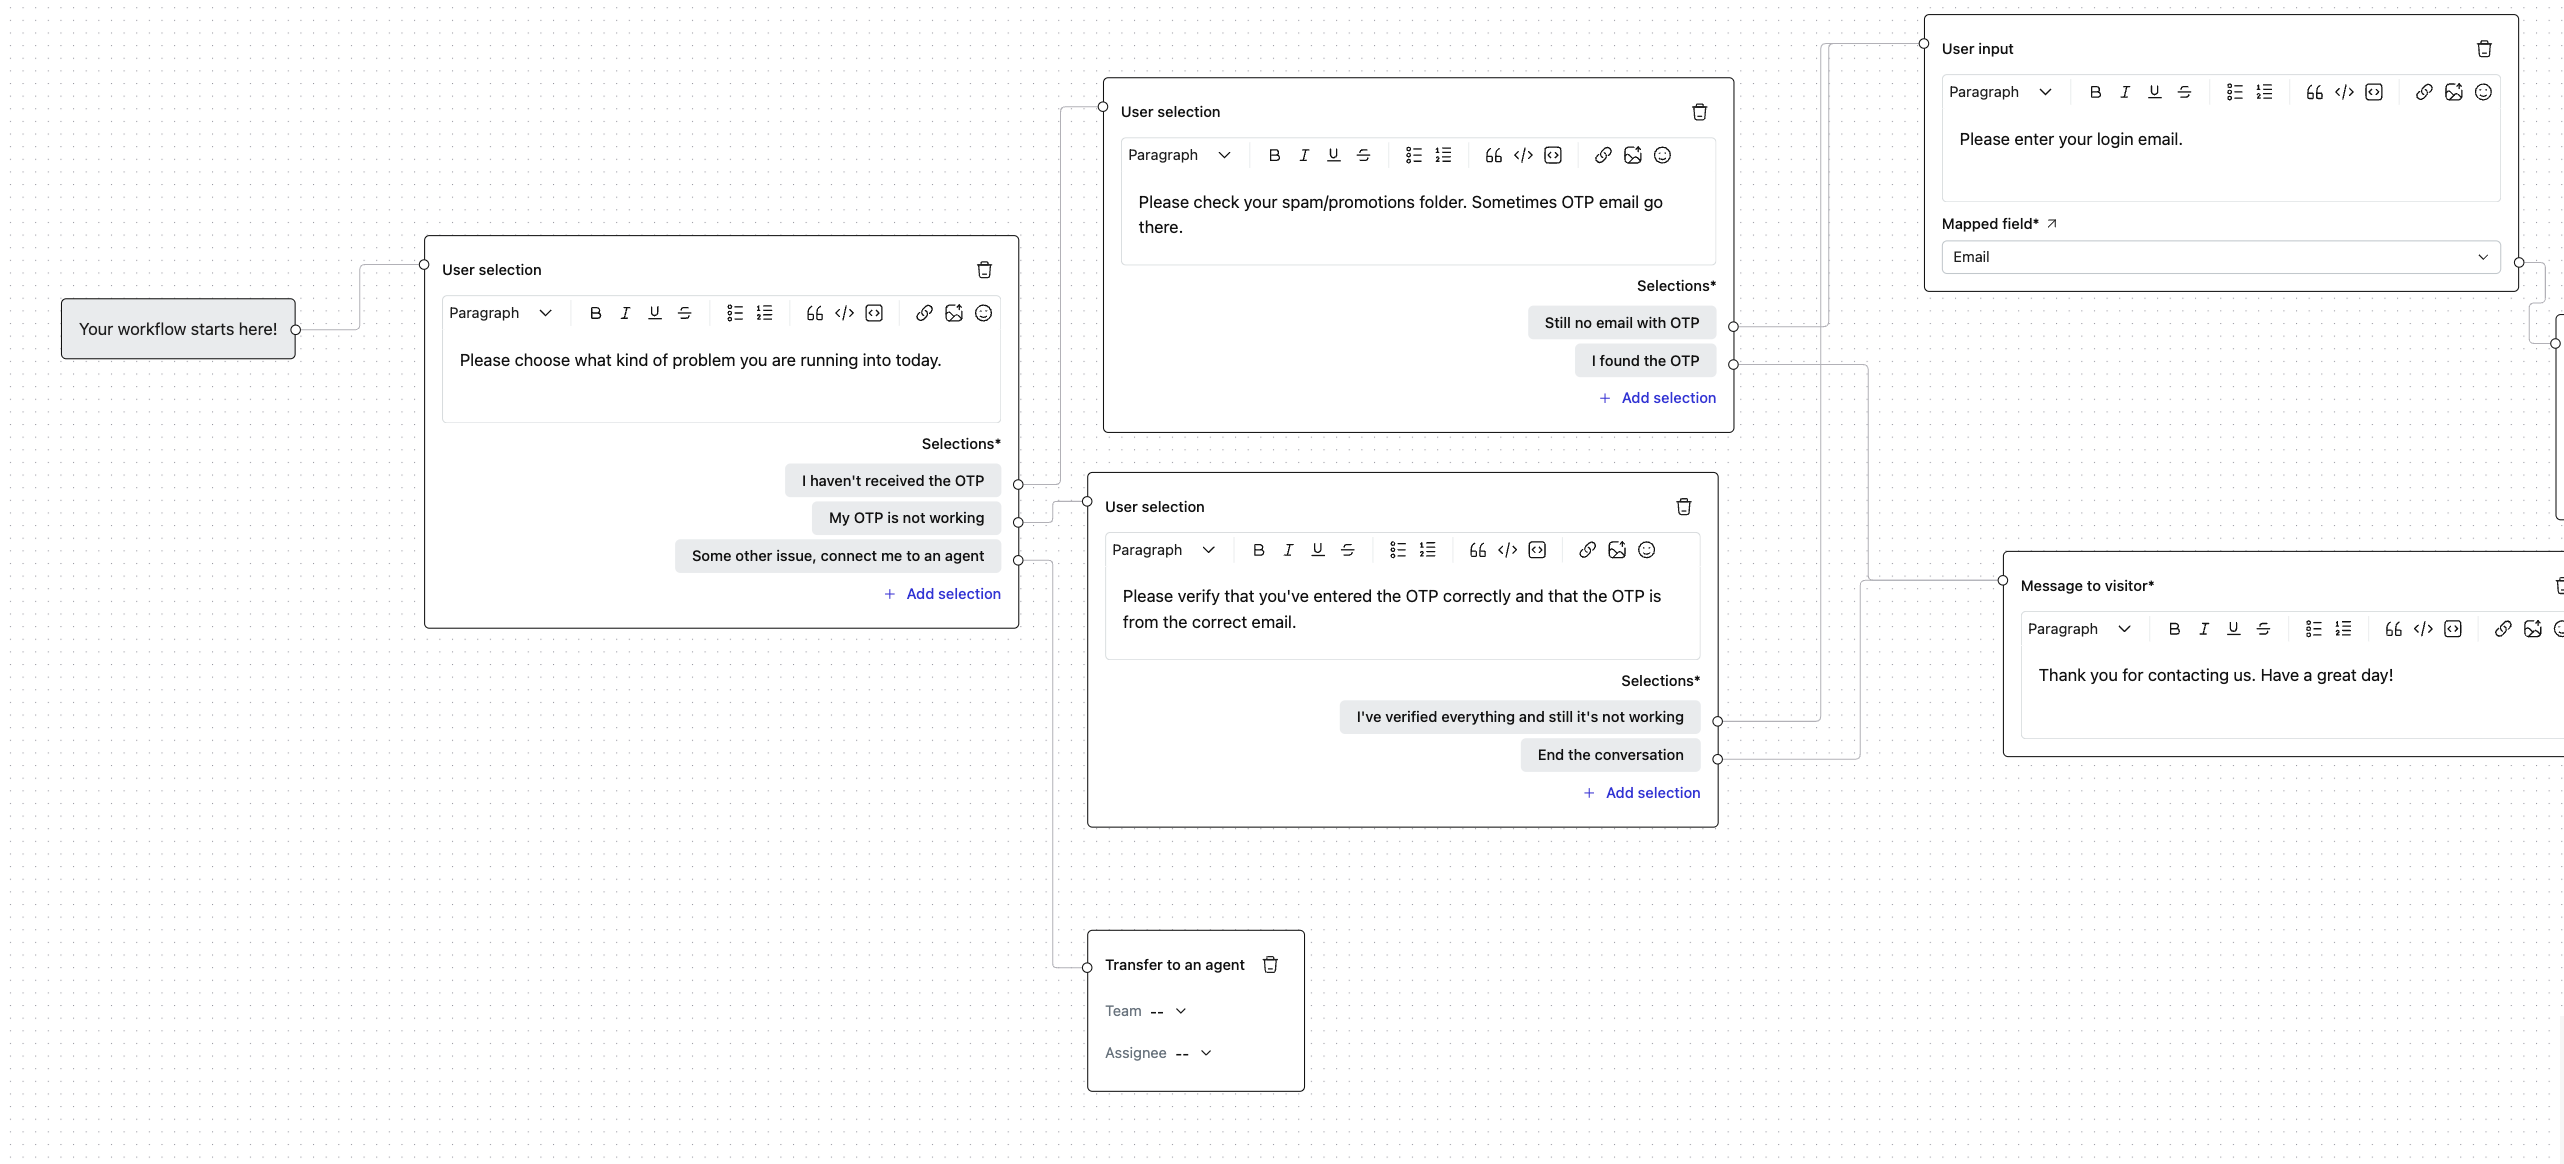
You can program the chatbot using a Workflow, a graphical representation of the steps and actions that the chatbot will take when posed with a question. It will look like the following image once you've built it; made up of Nodes and Connections.
You can create a new Workflow by following the steps below.
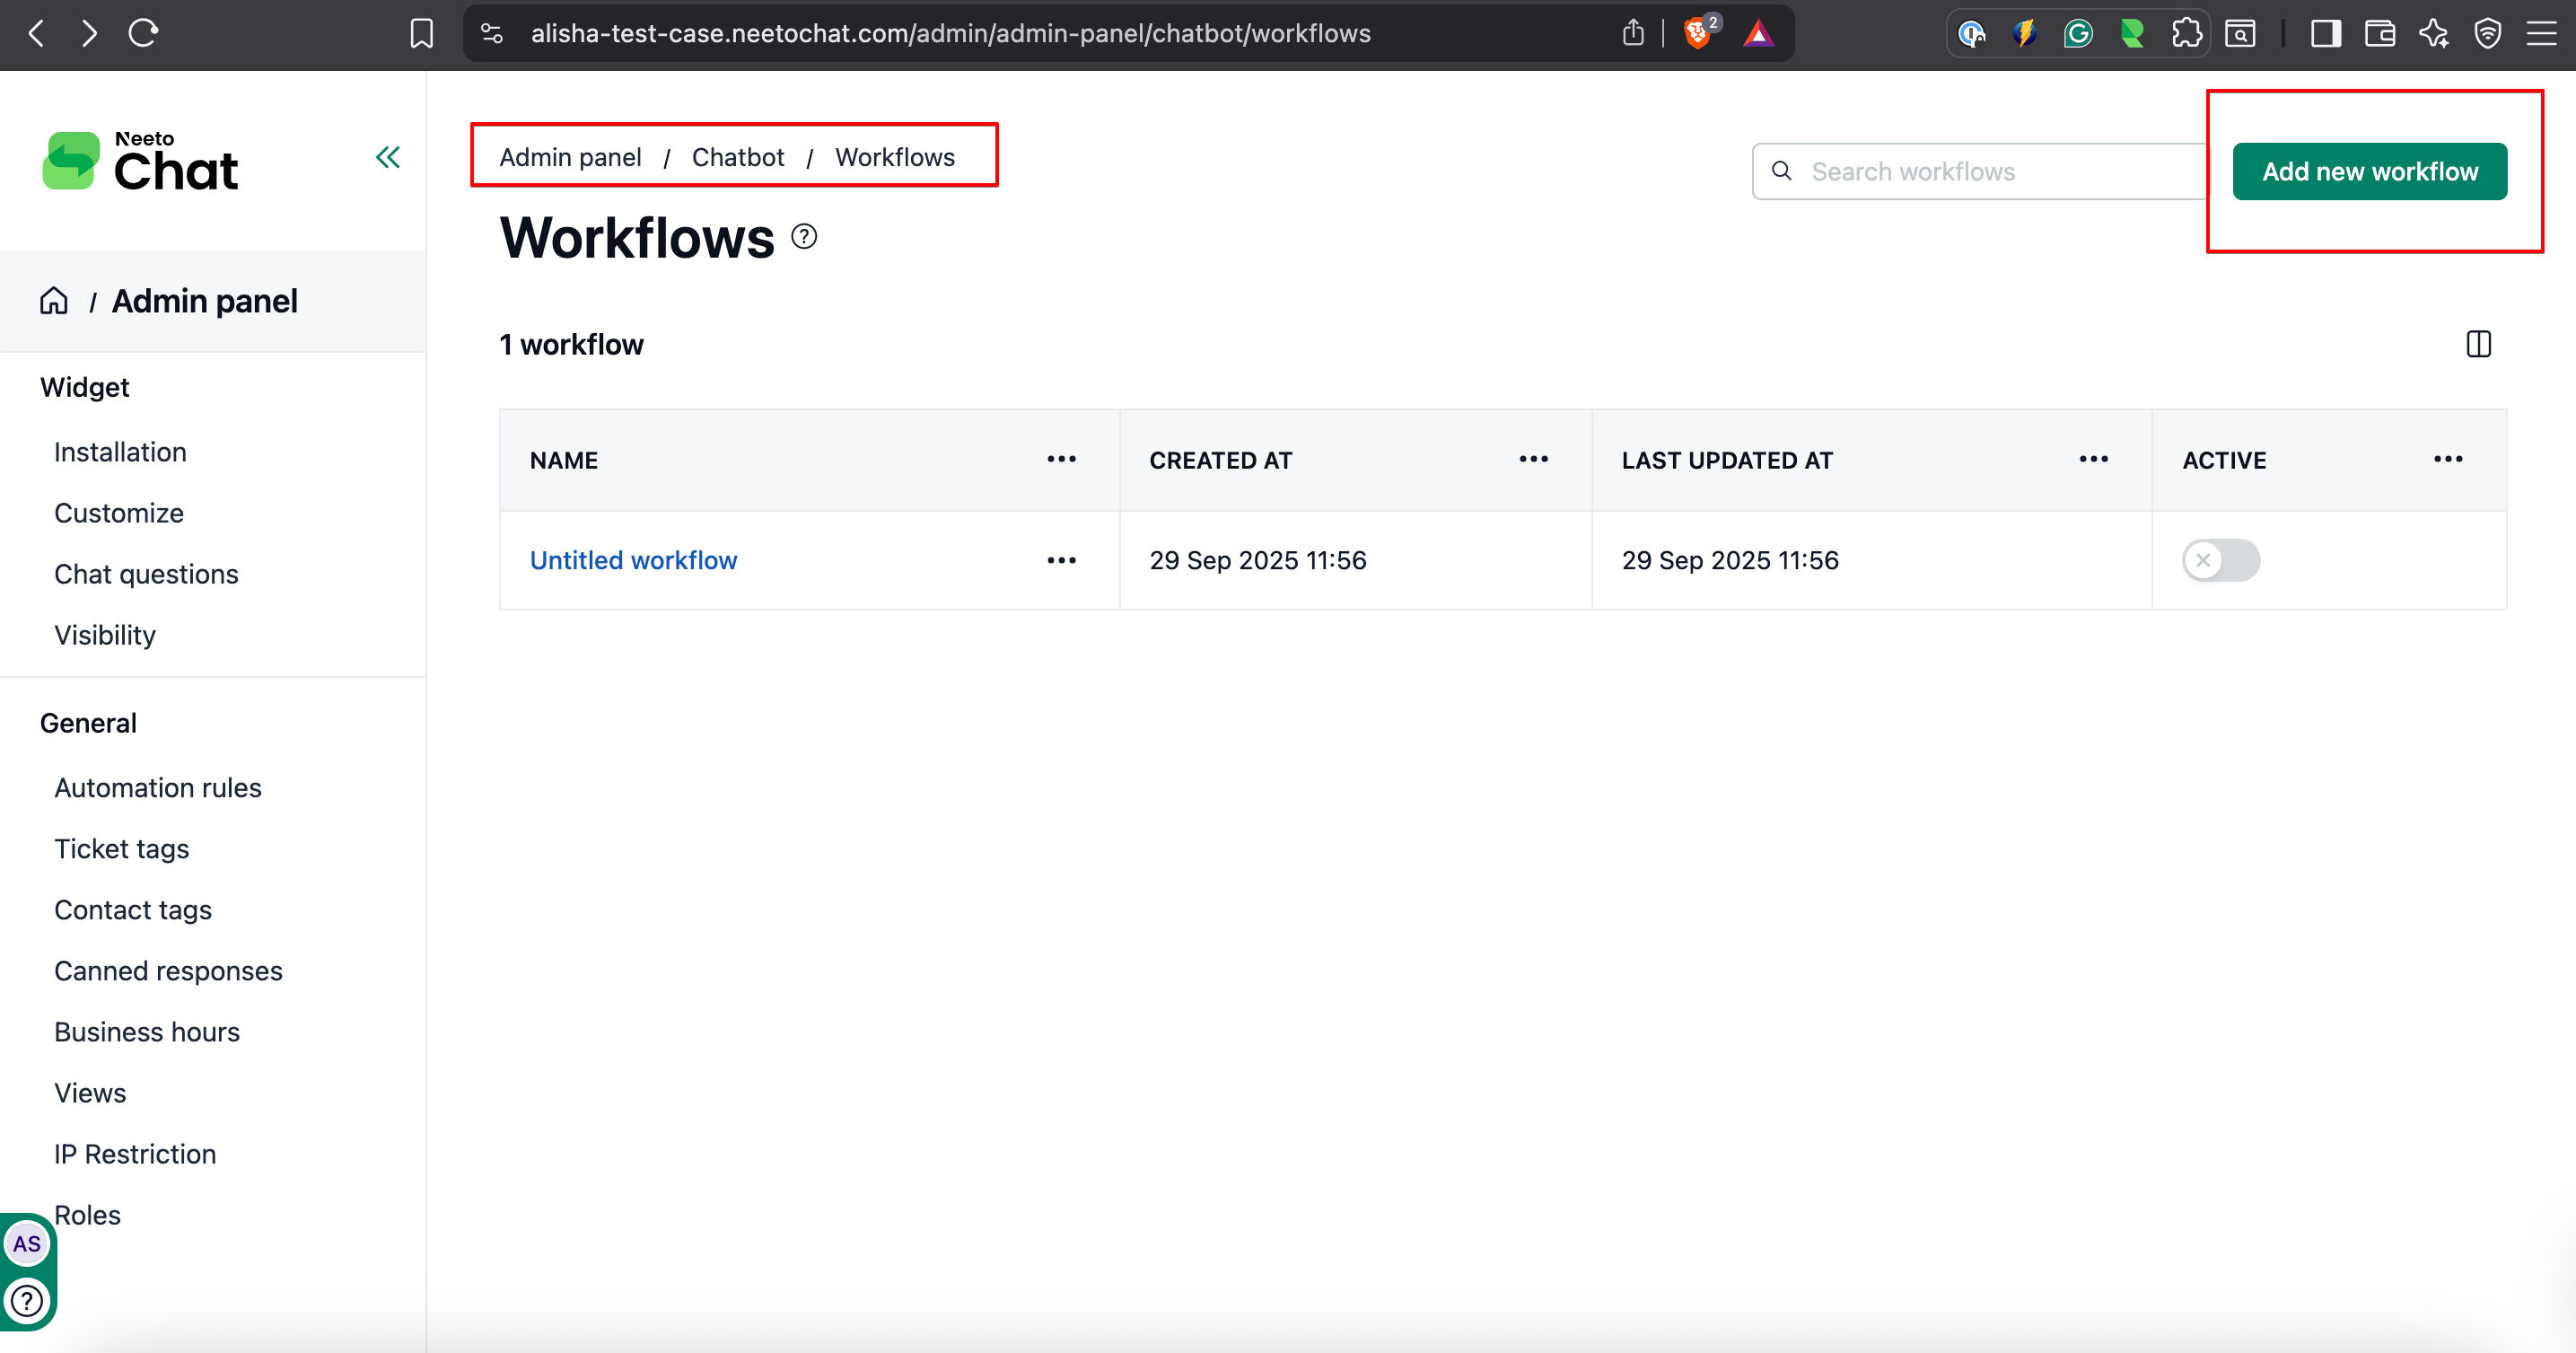
Go to Admin Panel.
Go to Chatbot.
Click on Workflows.
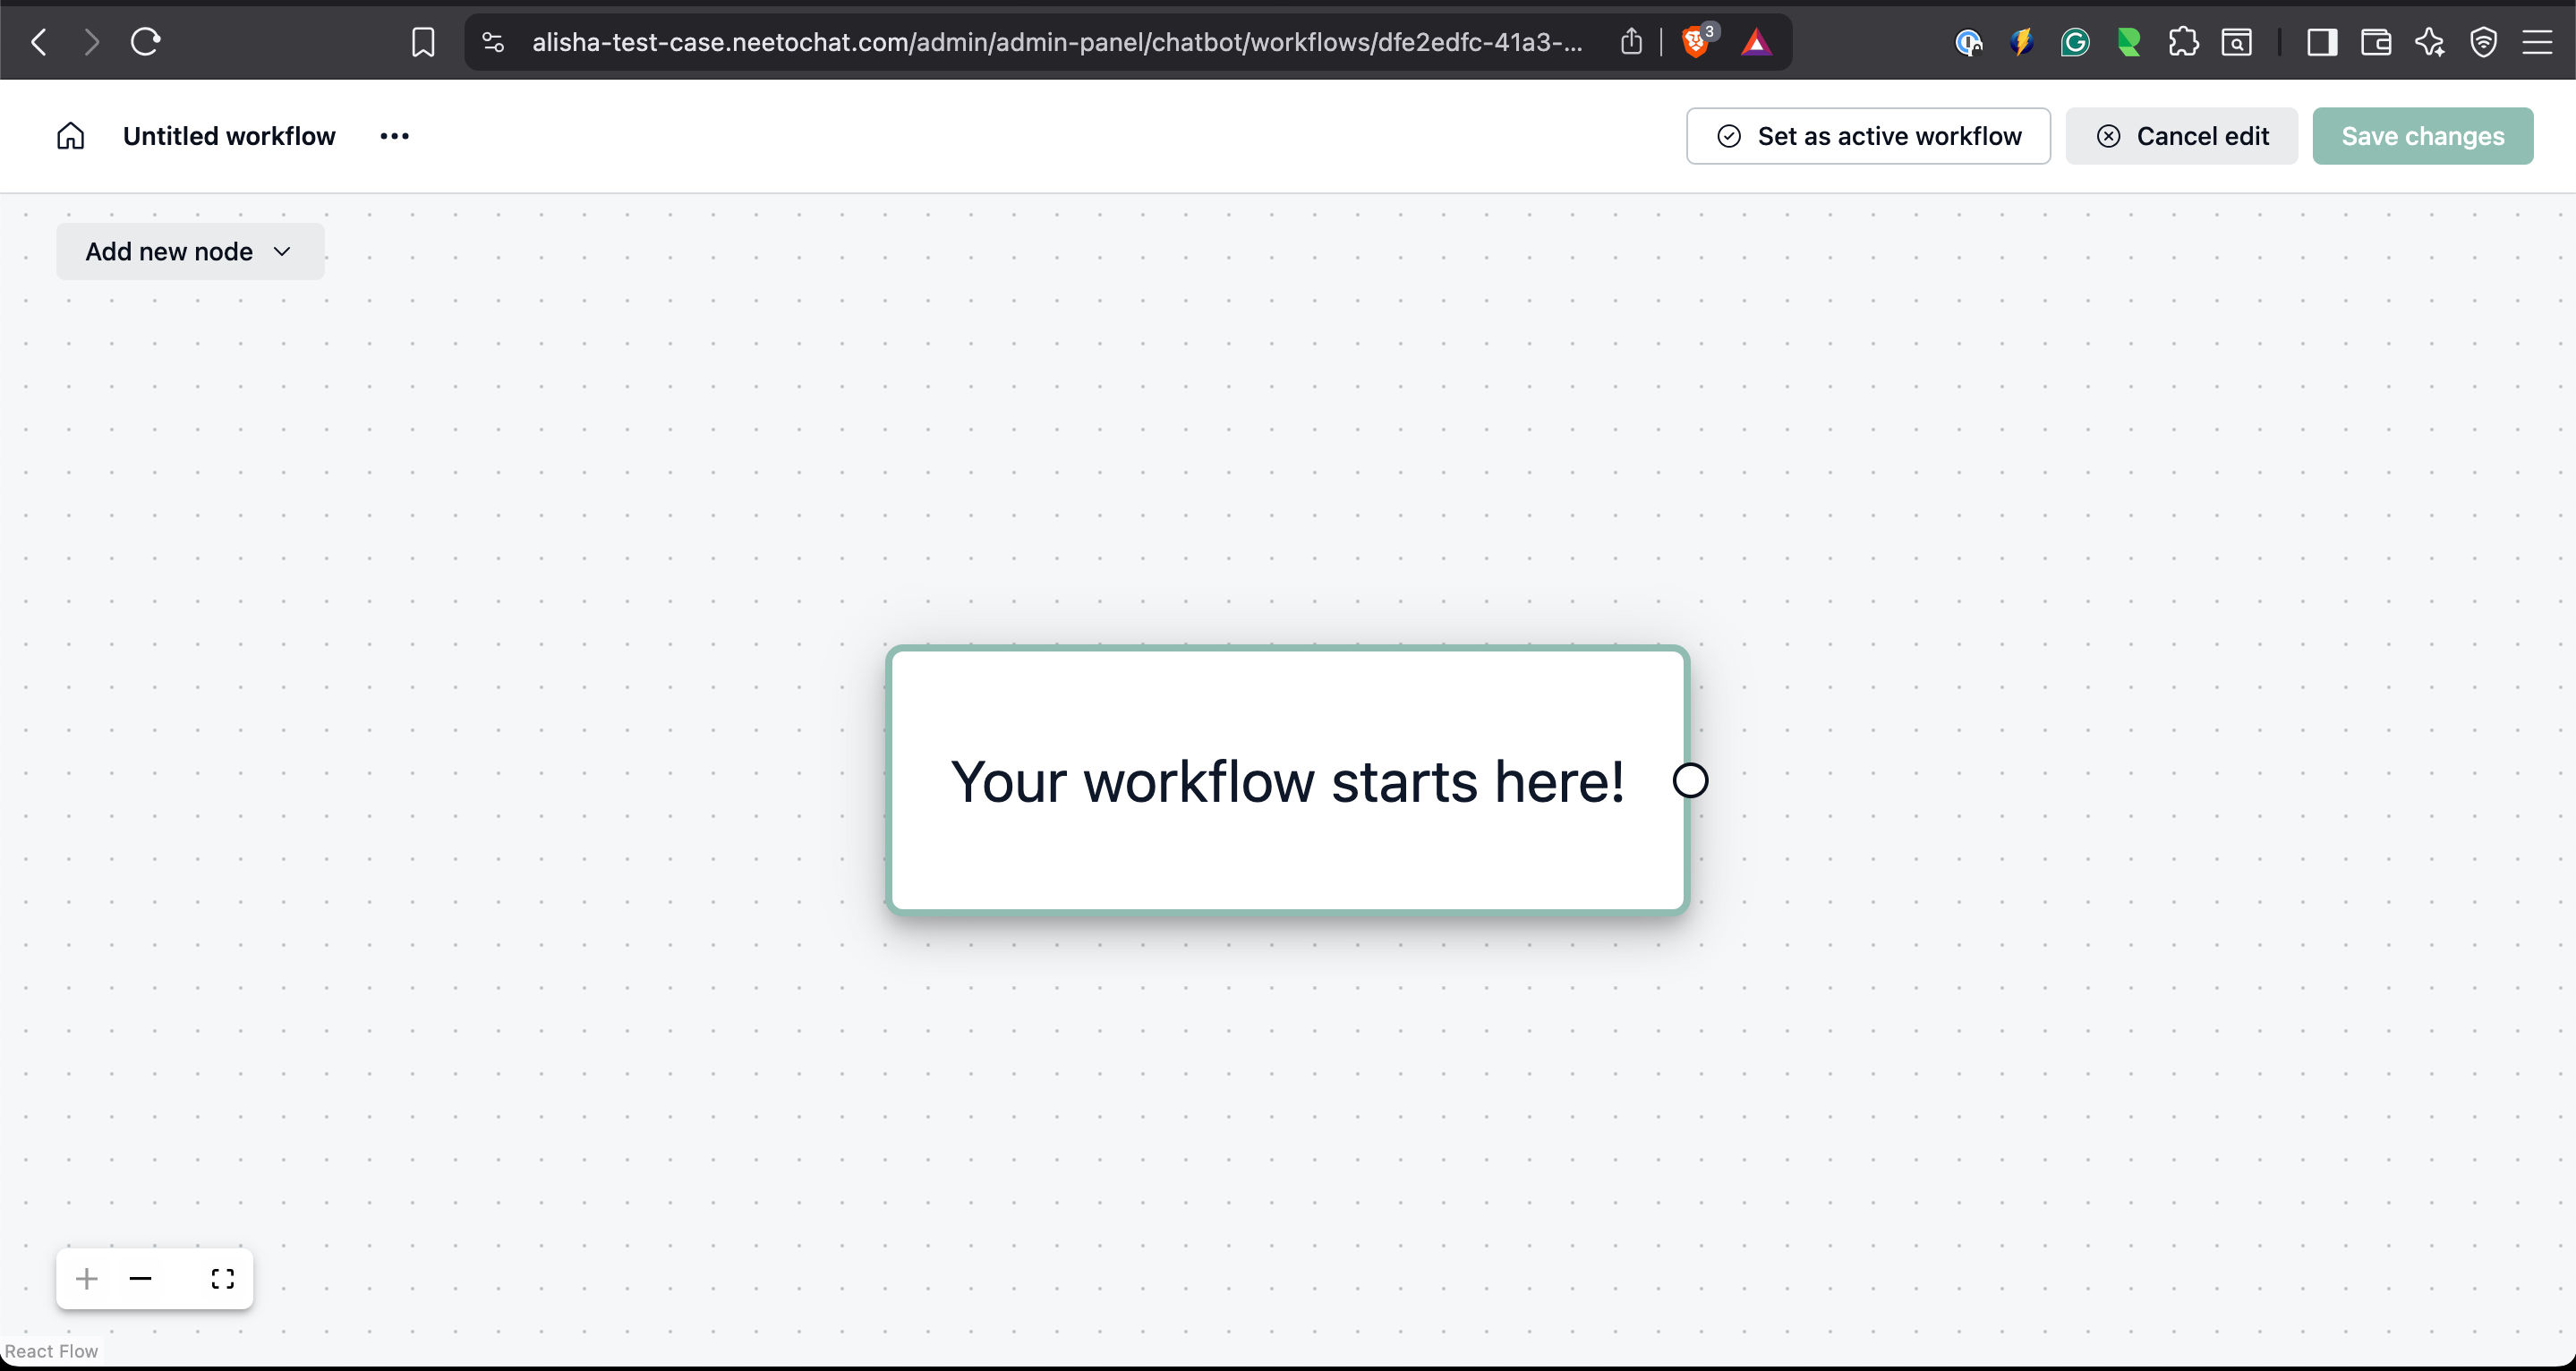
Click the Add new workflow button on the top right corner of the page. This will open a new empty Workflow in the Workflow Builder, titled Untitled workflow.
Since this is just an overview article, we won't be delving into how to create a full-fledged Workflow. Please refer to the Adding and managing workflows article to learn about working with Workflow.
By building a Workflow, you are essentially writing a graphical program for the chatbot.
Even though you can create multiple Workflows, only one will be used by the chatbot, the Active Workflow. The rest of the Workflow will be on standby.
2. Enabling chatbot

Note: Before you proceed, you must have at least one Workflow. Take some time to check out the article on Adding and managing workflows to learn more about working with Workflow.
As mentioned in the previous section, the chatbot uses one and only one Workflow to make decisions. We also instruct the chatbot to use a specific Workflow by setting our desired Workflow as the Active Workflow.
Set the Active Workflow and enable the chatbot
Go to Admin Panel.
Go to Chatbot.
Click on Workflows.
Select a Workflow as the Active Workflow from the dropdown to the left of the Save Changes button.
Toggle the Enable chatbot? switch to the enabled state.
Click the Save changes button to make the changes permanent.
This will enable the chatbot in the NeetoChat widget embedded on your website. Our chatbot will take care of your customer support queries.
Check out the rest of the articles under this Chatbot Settings category to learn more about the chatbot's abilities.